Blast From My Past...Canning Beans
Greetings sisters,
Here's another post from my old homesteading blog, canning beans. It goes well with the 'canning rice' post I just did. Open up one of each, stir together in a pan and you have a meal ready to go in minutes.
Hope you enjoy.
***********************************
If you are looking for an inexpensive nutritious food that is shelf stable for long periods of time then look no further than dry beans.
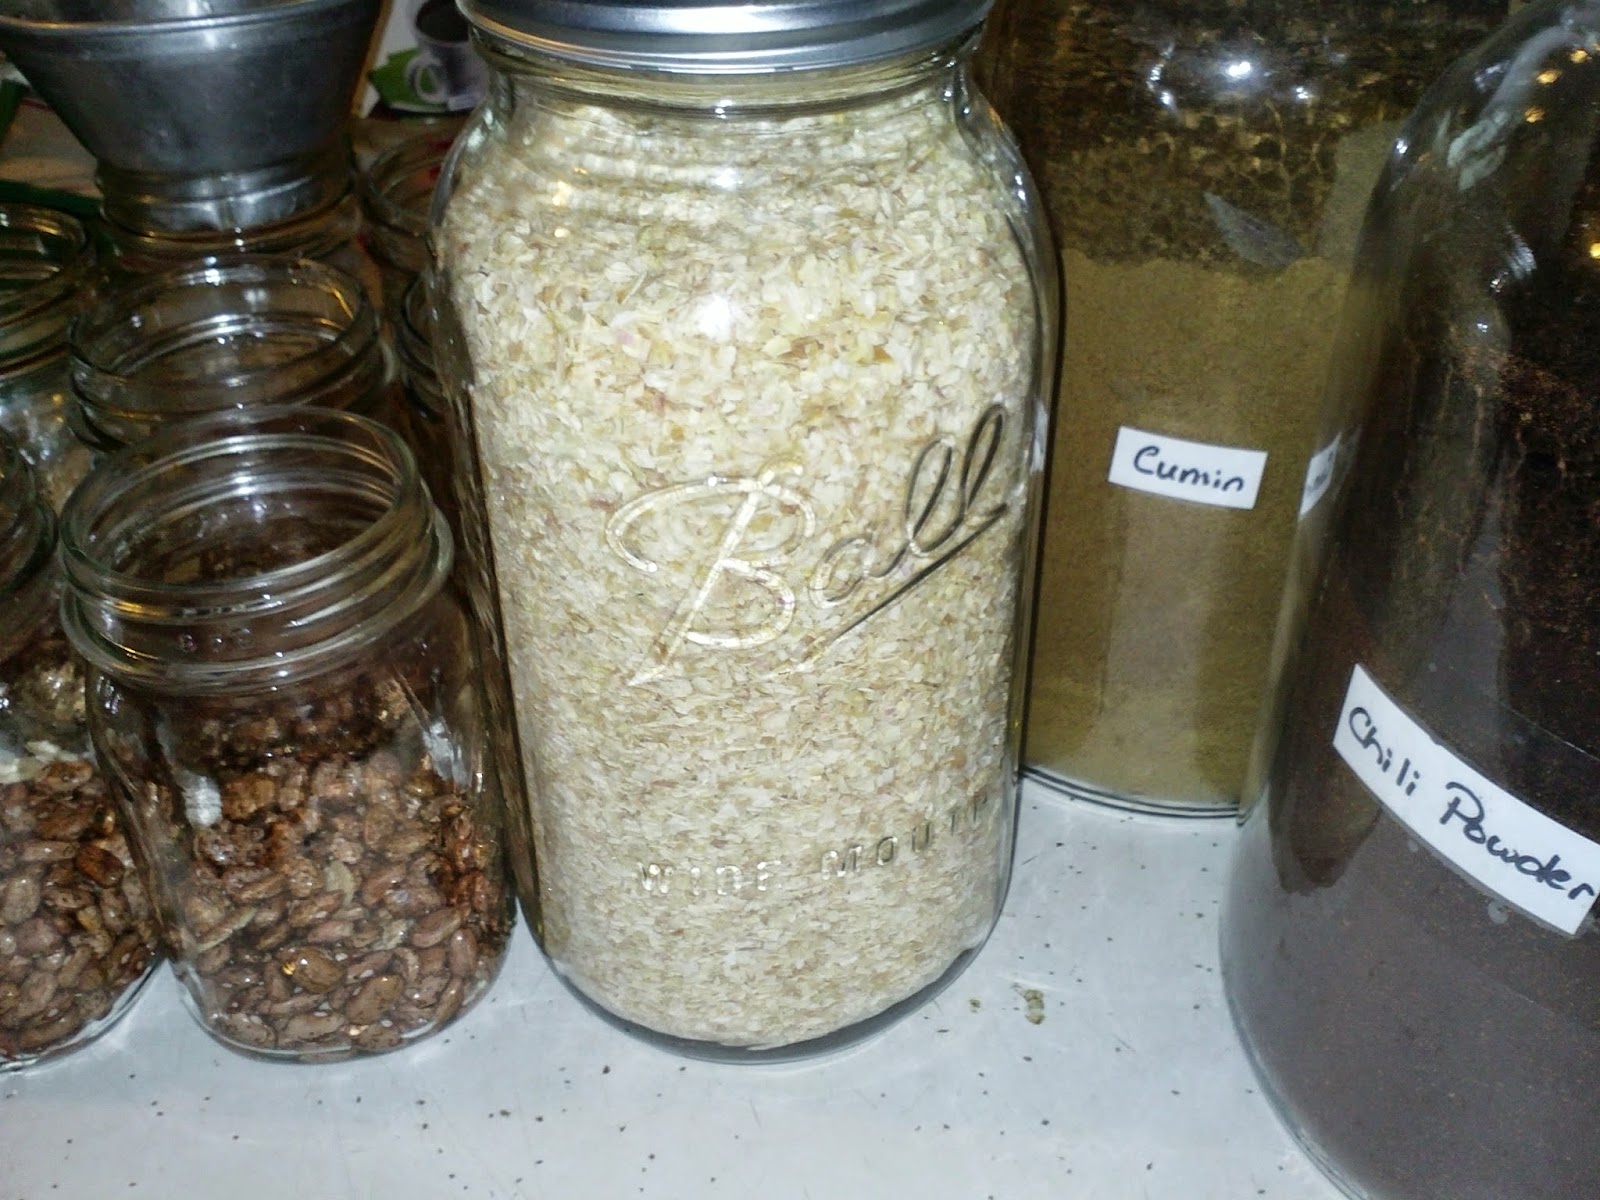
As we've mentioned before, we shop in bulk and store our dry goods in large air tight containers such as 5 gallon buckets, gallon glass and plastic jars, mason jars etc. By shopping in bulk for beans, rice, white flour, sugar, grains etc you pay a fraction per pound compared to the smaller packages. The same goes for spices. I can get 1 lb of spices for the same or less than buying one little bottle at the grocery store. (Yes there is controversy as to how long spices will last... ours last much longer than what you read on the internet. Feel free to go with what you feel is best for shelf life of such things:-) Planning ahead and preparing for stock up is a must for those who are looking for a bit more freedom in healthy foods and to lessen the burden on their pocket book.
Previously we posted about growing dry beans (we grew Jacobs Cattle) and now we'll show you one super easy way to prepare them for future quick meals!
Before we go any further though we encourage you to do your own research on pressure canning and the safety aspects of it. There are many websites out there that go into much detail on instructions and cautionary processes to look out for. In this post we are simply going to show you want we do and how we do it but it is up to you to make up your own mind as to what you feel comfortable with. This is not a 'how to can' post, it's a simple recipe for those who are familiar with the canning process already.
Canned beans are one of our favorite convenience foods because they are very versatile and we never get tired of eating them. It's great to have some on hand for those days that you were kept away from the house longer than you expected and you roll in around dinner time or for the days your household/garden projects kept you occupied well past hunger and into starvation :-).
First we'll go through the very quick process and then give you a few ideas how to use them.
Our canner will hold 9 small mouth pints or 7 quarts. We were canning in pints because it's just the two of us but since then we have realized that we would certainly have no problem using a quart of them in a short period of time. This will cut off an average of .17 - .20 cents per jar lid by going from pints to quarts. It all adds up!
Although we use our woodstove for 98% of our winter cooking, we don't do so in the summer and by canning multiple meals of beans you save propane.
You will not believe how simple this process is and you'll be sorry you didn't know sooner!
First you get your jars ready as well as any additional ingredients you would like to add. By shopping in bulk you not only save money, you always have ingredients on hand. It's wonderful to be able to go to the pantry and have more than enough to share with others as well.
You can either can the beans plain or add the spices from the recipe.

We always add the spices because they taste so good and I would have to add the spices anyway so this saves a lot of end processing time when prepping your meals. These are not 'hot' but they are very flavorful.

Just a quick note as you are measuring your beans you will want to take a look at them like all the directions tell you. Yes, believe it or not you can run across a stone or two so it's wise to double check. We also recommend a quick rinse so we'll include that in the directions. Nope, you don't pre-soak these beans which makes it all the better!
INGREDIENTS:
(These instructions are for 1 pint jar of beans,)
1/2 cup dry beans (your choice what kind)
1/2 teaspoon dehydrated onion
1/2 teaspoon chili powder
1/2 teaspoon cumin
1/2 teaspoon minced garlic or 1/8 tsp garlic powder
1/2 teaspoon salt
1. Measure out 1/2 cup beans, check them over, run a bit of water over them to rinse then put in jar.
2. Measure and add the rest of the ingredients to each jar.
3. Fill each jar with boiling water leaving 1" headspace. Be sure to leave a generous 1" as the beans swell.
4. Put on hot lids and bands and put in pressure cooker.
5. Pressure cook at 10 lbs for 75 minutes.
(Remember to follow the directions in your pressure canning book as we are simply summarizing a recipe here.)
As you do a few batches of these you will see that the smaller beans cook more in that time than the bigger bean types so we do some minor time adjusting on the recipes depending on what kind we're using.

You would use these beans just like you would any other canned beans you bought from the store except these will be easier on your pocket book and healthier because you know exactly what is in them.
Our favorite way to use them is to do a quick drain to remove the excess liquid then heat them in a pan. Make sure to scoop out the seasonings that gather at the bottom of the jar and add to the beans as they cook. As they are cooking you mash them with a potato masher and then cook until they are the consistency of what you like. At this point we like to just use it as bean dip with some natural/organic tortilla chips that we find at our local dent/bent store. (It's great if you have sour cream, some lettuce, cheese and onions as well, whatever you like and quite honestly, plain is good too!) This has often been a 'go to' quick dinner in a time crunch and a satisfying one it is!
These can also be used in burritos either mashed or not, with meat or without. They are also great for chili. We prefer to cook our chili the long way by soaking the beans overnight and cooking the chili on the woodstove all day long but that's not feasible in the warmer months so by just opening a jar of beans, a jar of home canned tomatoes or salsa and sometimes adding meat, we have a quick chili lunch that takes 10 minutes to prepare. Add some homemade bread or buns and you have a meal you won't forget.
These beans are also very tasty when paired with canned rice.
(Click here to learn how easy it is to can rice.)
So there you have it, a fast way to make some convenience meals that are super simple, low cost and very nutritious, not to mention satisfying as well.
Enjoy!
Love,
Sister Deb
Here's another post from my old homesteading blog, canning beans. It goes well with the 'canning rice' post I just did. Open up one of each, stir together in a pan and you have a meal ready to go in minutes.
Hope you enjoy.
***********************************
If you are looking for an inexpensive nutritious food that is shelf stable for long periods of time then look no further than dry beans.
As we've mentioned before, we shop in bulk and store our dry goods in large air tight containers such as 5 gallon buckets, gallon glass and plastic jars, mason jars etc. By shopping in bulk for beans, rice, white flour, sugar, grains etc you pay a fraction per pound compared to the smaller packages. The same goes for spices. I can get 1 lb of spices for the same or less than buying one little bottle at the grocery store. (Yes there is controversy as to how long spices will last... ours last much longer than what you read on the internet. Feel free to go with what you feel is best for shelf life of such things:-) Planning ahead and preparing for stock up is a must for those who are looking for a bit more freedom in healthy foods and to lessen the burden on their pocket book.
Previously we posted about growing dry beans (we grew Jacobs Cattle) and now we'll show you one super easy way to prepare them for future quick meals!
Before we go any further though we encourage you to do your own research on pressure canning and the safety aspects of it. There are many websites out there that go into much detail on instructions and cautionary processes to look out for. In this post we are simply going to show you want we do and how we do it but it is up to you to make up your own mind as to what you feel comfortable with. This is not a 'how to can' post, it's a simple recipe for those who are familiar with the canning process already.
Canned beans are one of our favorite convenience foods because they are very versatile and we never get tired of eating them. It's great to have some on hand for those days that you were kept away from the house longer than you expected and you roll in around dinner time or for the days your household/garden projects kept you occupied well past hunger and into starvation :-).
First we'll go through the very quick process and then give you a few ideas how to use them.
Our canner will hold 9 small mouth pints or 7 quarts. We were canning in pints because it's just the two of us but since then we have realized that we would certainly have no problem using a quart of them in a short period of time. This will cut off an average of .17 - .20 cents per jar lid by going from pints to quarts. It all adds up!
Although we use our woodstove for 98% of our winter cooking, we don't do so in the summer and by canning multiple meals of beans you save propane.
You will not believe how simple this process is and you'll be sorry you didn't know sooner!
First you get your jars ready as well as any additional ingredients you would like to add. By shopping in bulk you not only save money, you always have ingredients on hand. It's wonderful to be able to go to the pantry and have more than enough to share with others as well.
You can either can the beans plain or add the spices from the recipe.
We always add the spices because they taste so good and I would have to add the spices anyway so this saves a lot of end processing time when prepping your meals. These are not 'hot' but they are very flavorful.
Just a quick note as you are measuring your beans you will want to take a look at them like all the directions tell you. Yes, believe it or not you can run across a stone or two so it's wise to double check. We also recommend a quick rinse so we'll include that in the directions. Nope, you don't pre-soak these beans which makes it all the better!
INGREDIENTS:
(These instructions are for 1 pint jar of beans,)
1/2 cup dry beans (your choice what kind)
1/2 teaspoon dehydrated onion
1/2 teaspoon chili powder
1/2 teaspoon cumin
1/2 teaspoon minced garlic or 1/8 tsp garlic powder
1/2 teaspoon salt
1. Measure out 1/2 cup beans, check them over, run a bit of water over them to rinse then put in jar.
2. Measure and add the rest of the ingredients to each jar.
3. Fill each jar with boiling water leaving 1" headspace. Be sure to leave a generous 1" as the beans swell.
4. Put on hot lids and bands and put in pressure cooker.
5. Pressure cook at 10 lbs for 75 minutes.
(Remember to follow the directions in your pressure canning book as we are simply summarizing a recipe here.)
As you do a few batches of these you will see that the smaller beans cook more in that time than the bigger bean types so we do some minor time adjusting on the recipes depending on what kind we're using.
You would use these beans just like you would any other canned beans you bought from the store except these will be easier on your pocket book and healthier because you know exactly what is in them.
Our favorite way to use them is to do a quick drain to remove the excess liquid then heat them in a pan. Make sure to scoop out the seasonings that gather at the bottom of the jar and add to the beans as they cook. As they are cooking you mash them with a potato masher and then cook until they are the consistency of what you like. At this point we like to just use it as bean dip with some natural/organic tortilla chips that we find at our local dent/bent store. (It's great if you have sour cream, some lettuce, cheese and onions as well, whatever you like and quite honestly, plain is good too!) This has often been a 'go to' quick dinner in a time crunch and a satisfying one it is!
These can also be used in burritos either mashed or not, with meat or without. They are also great for chili. We prefer to cook our chili the long way by soaking the beans overnight and cooking the chili on the woodstove all day long but that's not feasible in the warmer months so by just opening a jar of beans, a jar of home canned tomatoes or salsa and sometimes adding meat, we have a quick chili lunch that takes 10 minutes to prepare. Add some homemade bread or buns and you have a meal you won't forget.
These beans are also very tasty when paired with canned rice.
(Click here to learn how easy it is to can rice.)
So there you have it, a fast way to make some convenience meals that are super simple, low cost and very nutritious, not to mention satisfying as well.
Enjoy!
Love,
Sister Deb
The biblical gospel...